Take control of the lighting in your room with blackout blinds. Follow these step-by-step instructions for a successful DIY installation.
Blackout blinds are an excellent addition to any home, providing privacy, darkness, and insulation from outside light and noise. Installing blackout blinds yourself can be a satisfying project that saves you money on professional installation fees. In this step-by-step guide, we’ll walk you through the process of installing blackout blinds in your home, from measuring your windows to mounting the blinds securely.
Step 1: Gather Your Tools and Materials
Before you begin, make sure you have all the necessary tools and materials on hand:
- Blackout blinds
- Measuring tape
- Pencil
- Screwdriver
- Drill (if necessary)
- Mounting brackets
- Screws
- Level
- Step ladder (if needed)
Step 2: Measure Your Windows
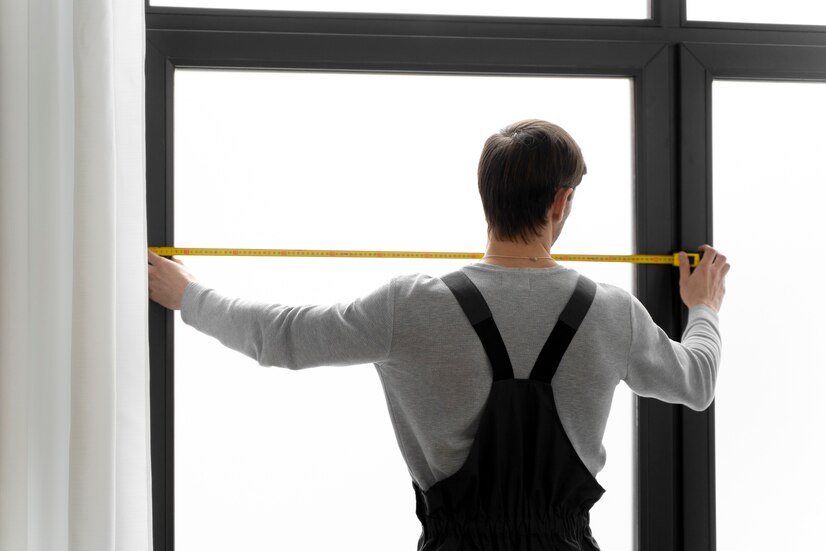
Start by measuring the width and height of your windows to determine the size of blackout blinds you need. Measure both inside and outside the window frame to ensure accuracy, especially if you plan to install the blinds inside the frame. Record these measurements carefully, as they will determine the size of blinds you purchase.
Step 3: Choose the Mounting Location
Decide whether you want to mount the blinds inside or outside the window frame. Inside mounting provides a cleaner look and is ideal if you have decorative trim around your windows. Outside mounting, on the other hand, can help block more light and is suitable for windows without trim or limited depth.
Step 4: Install Mounting Brackets
If you’re mounting the blinds inside the window frame, position the mounting brackets at the top corners of the frame, ensuring they are level. Use a pencil to mark the screw holes, then drill pilot holes if necessary before attaching the brackets with screws.
For outside mounting, position the brackets above the window frame, allowing enough space for the blinds to fully cover the window when lowered. Again, use a level to ensure the brackets are straight before securing them with screws.
Step 5: Attach the Blinds to the Brackets
Once the mounting brackets are in place, it’s time to attach the blackout blinds. Most blinds come with pre-installed clips or hooks that easily slide into the mounting brackets. Simply line up the clips with the brackets and snap the blinds into place.
If your blinds require additional hardware to attach them to the brackets, refer to the manufacturer’s instructions for guidance. Use a screwdriver to secure the blinds firmly in place, ensuring they are level and evenly spaced.
Step 6: Test the Operation
After mounting the blinds, test their operation by raising and lowering them several times. Make sure they move smoothly and without any obstructions. If you encounter any issues, such as the blinds getting stuck or uneven movement, double-check the installation and make any necessary adjustments.
Step 7: Finishing Touches
Once the blinds are installed and operating correctly, tidy up any excess hardware or debris and admire your handiwork. If desired, you can add decorative touches such as valances or curtains to enhance the appearance of the blinds and complement your decor.
Maintenance Tips:
To keep your blackout blinds looking and functioning their best, here are some maintenance tips to follow:
- Regularly dust or vacuum the blinds to remove any dirt or debris.
- Spot clean stains with a mild detergent and water, taking care not to saturate the fabric.
- Avoid using harsh chemicals or abrasive cleaners, as they can damage the blinds’ surface.
- Periodically check the mounting brackets and hardware for tightness to ensure the blinds remain securely in place.
Conclusion:
Installing blackout blinds yourself is a rewarding project that can enhance the comfort and functionality of your home. By following this step-by-step guide and taking the time to measure carefully and install correctly, you can enjoy the benefits of increased privacy, darkness, and energy efficiency for years to come. With the right tools, materials, and a little patience, you’ll have your blackout blinds installed and ready to use in no time.


